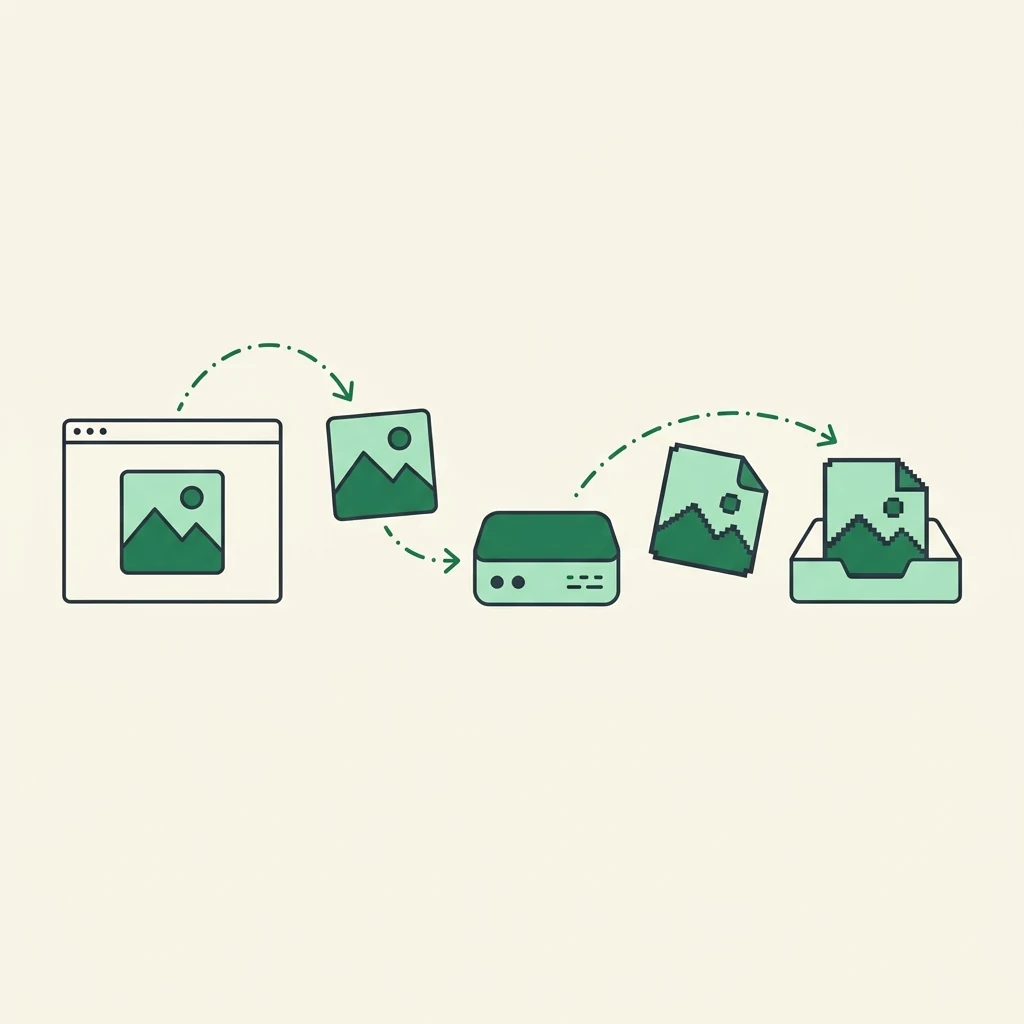
You right-click a picture, choose "Save image as", and the file comes down as .webp.
Your design tool won't open it, the upload form rejects it, and renaming it to .png
doesn't help. Chrome isn't converting anything. The website sent Chrome a WebP file in the first
place, and "Save image as" saves exactly what arrived.
Once you know why the site did that, you can either ask it for a different format or turn the WebP into a PNG yourself. Both take under a minute.
Why the site sends WebP instead of PNG
Your browser tells every website which image formats it can show. With each image request it
sends a header called Accept, and current versions of Chrome, Edge, Firefox and Safari
all list WebP and AVIF in it. Most large sites put their images behind a service that reads that
header and picks the smallest format the browser understands. You are shown a WebP because WebP
is usually much smaller than PNG or JPEG at the same visible quality, which makes pages load faster.
MDN: default Accept values by browser
That means the same address can return a different file depending on who asks. An old browser that doesn't mention WebP gets a JPEG or PNG from the same link. A modern browser gets WebP, or more and more often AVIF. Image services such as Cloudinary, Imgix and Shopify's CDN all work this way unless the address forces a format. Cloudinary: automatic format selection
It is also why switching browsers rarely fixes it. Firefox and Safari advertise WebP too, so they receive the same file Chrome did.
photo.webp to
photo.png only changes the label. The data inside is still WebP, and anything strict
about formats will still reject it or show it as broken.
Pick the fix by what you're doing
| Situation | Fastest route |
|---|---|
| You already saved one or more .webp files | Convert them to PNG in the browser |
| You need one image right now and are on a Mac | Open in Preview, export as PNG |
| You need one image right now and are on Windows 11 | Open in Paint, Save as PNG |
| You want the site's own file, not a converted copy | Edit the image address |
| You're saving images from the same site all day | Tell Chrome to stop asking for WebP |
1. Convert the WebP you already have
Converting is the dependable route because it works whatever site the image came from. Drop the files into WebP to PNG, and each one comes back as a PNG with any transparent areas intact. You can add a whole folder's worth at once and download them all together. The conversion runs in your browser, so the images are never uploaded anywhere. If you need a smaller file for email or a form that only takes JPEG, use WebP to JPG instead.
If the download turned out to be .avif, that is the same thing with a newer format, and
AVIF to PNG handles it the same way.
2. Use what's already on your computer
For a single image, the tools built into your computer are fine. On a Mac running macOS Big Sur or later, open the WebP in Preview, choose File, then Export, and set the format to PNG. On Windows 11, open it in Paint and use File, then Save as, then PNG picture.
There is also a shortcut that skips the WebP file completely. Right-click the image in Chrome and choose "Copy image" instead of "Save image as". Chrome puts a plain bitmap on the clipboard, and on a Mac you can then open Preview and choose File, then New from Clipboard, and export that as a PNG.
3. Ask the site for the original by editing the address
Many image addresses carry an instruction that tells the server to pick the format, and removing or changing it often gets you the original file. Right-click the image, choose "Open image in new tab", and look at the address bar. Some common patterns:
- Shopify stores (
cdn.shopify.com): add&format=pngto the end of the address, or?format=pngif it has no?yet. - Cloudinary (
res.cloudinary.com): replacef_autoin the path withf_png. - Imgix and similar services: remove
auto=format, or addfm=png. - Google-hosted images (
googleusercontent.com): a-rwat the end of the size setting forces WebP. Delete it and reload. - Sites built with Next.js (addresses starting
/_next/image?url=): theurl=part holds the path of the original file. Open that path directly.
If you see format=webp, fm=webp or .webp written into the
address, try changing it to png or jpg. Not every site keeps a PNG behind
the WebP, so if nothing changes, go back to converting.
Shopify: image_url format parameter
4. Stop Chrome asking for WebP (for heavy use)
Chrome's developer tools can stop the browser from advertising WebP and AVIF, which makes most sites fall back to JPEG or PNG. Press F12 (Cmd+Option+I on a Mac), open the three-dot menu in that panel, choose More tools, then Rendering, and tick "Disable WebP image format" and "Disable AVIF image format". Reload the page and save the image as usual.
The setting only lasts while that developer panel is open in that tab, so it doesn't slow down your normal browsing. Browser extensions that do the same job exist, but each one asks for access to every page you visit, which is a lot of access for something the built-in setting already does.
What converting can't do
A PNG made from a WebP looks exactly like the WebP and no better. Most WebP images on the web are compressed in a way that throws away some fine detail, and turning them into PNG keeps what's left without losing anything more, but it can't put back what was removed. The PNG will also usually be a larger file than the WebP it came from.
That matters only when quality matters. For a slide, a document, a thumbnail or an upload form, the converted PNG is fine. For printing large or for editing a product photo, editing the address to get the site's original (step 3) is worth trying first, because the original may be higher quality than what you were served. The same trade-off comes up with phone photos, covered in HEIC vs JPG.
Turn WebP files into PNG
Drop in one image or a whole batch, then download. Free, and nothing leaves your browser.
Open WebP to PNG